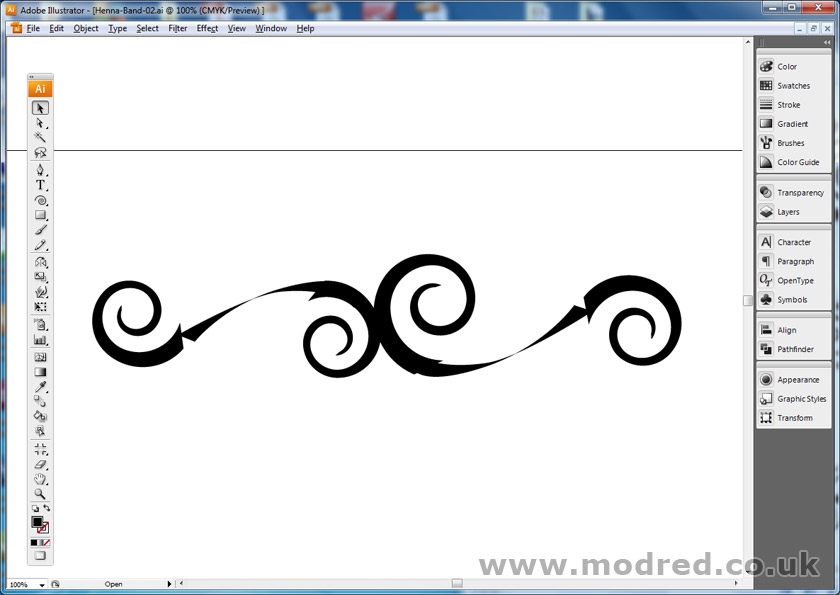
One of my early jobs was to create original illustrations for a tattoo stencil company. They usually gave me a basic design brief – perhaps producing a range of Christmas designs, or Hen Party designs… I then produced a few drawings, the best of which were then used as products on their website.
I use Adobe Illustrator to create vector graphics – which are perfect for printing or vinyl cutting, which is how these tattoo stencils are made. This example was used as a henna tattoo stencil.
The Design Process
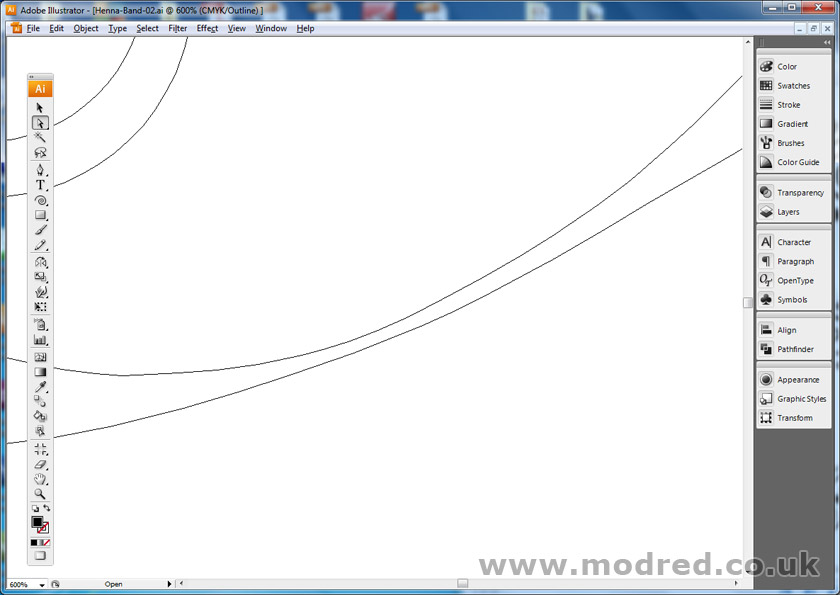
Below I have tried to capture the process of producing a stencil drawing… producing a nice swirly shape using just a few basic shapes & Illustrator tools.
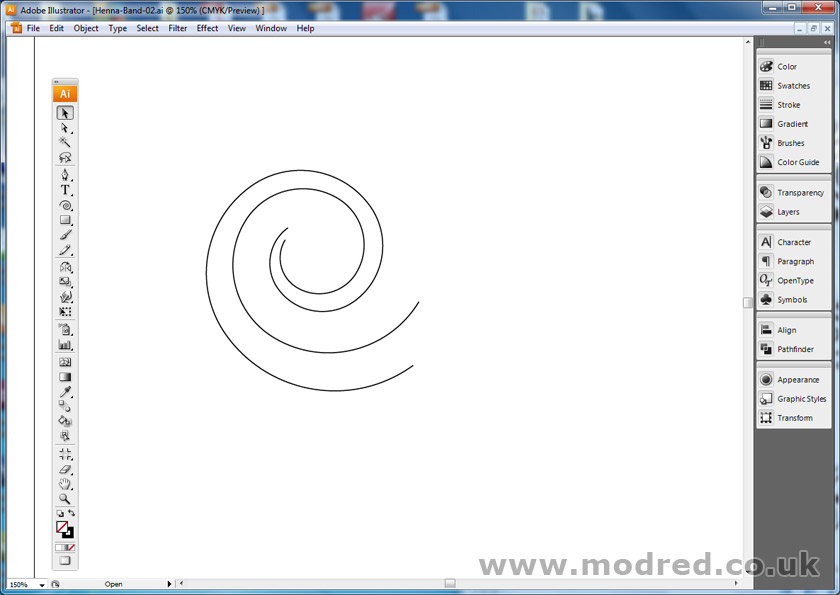
Most of my drawings are made up of simple shapes, which gives my drawings a bit of symmetry. This drawing started by using the Swirl Line tool. I removed a couple of anchor points towards the centre of the swirl, then duplicated it, shrinking & rotating it to fit nicely inside the first swirl.

I then duplicated the pair of swirls, rotated the second pair of swirls 180′, then added a couple of curved lines to connect the two pairs of swirls. Don’t worry about getting the curves perfect, they can always be adjusted later.
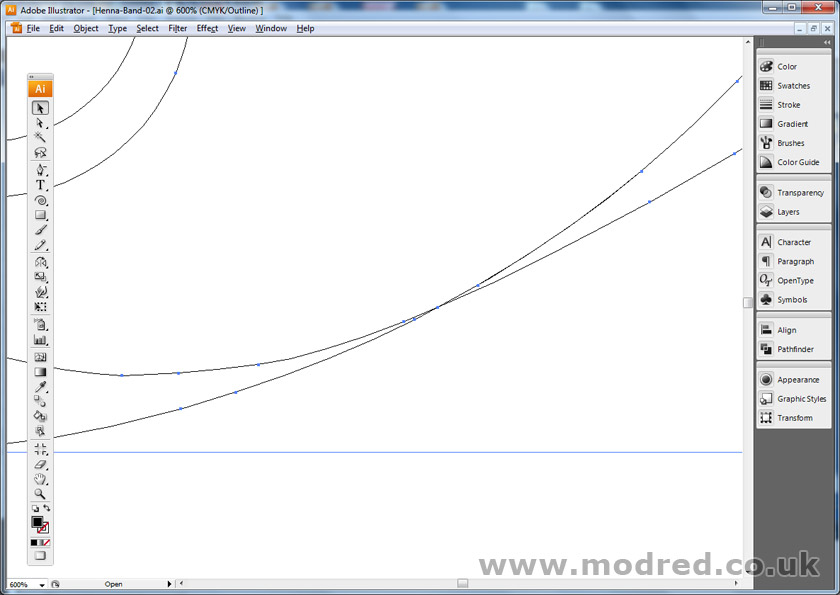
A good tip for creating nice, natural curves is to use the minimum amount of anchor points. Employing a mathematical approach to drawing is sometimes easier, & usually creates a shape which looks more balanced & natural.
By grouping all of the lines, duplicating & rotating them (making one slightly smaller to convey nature) you can quickly make a nice swirly design.
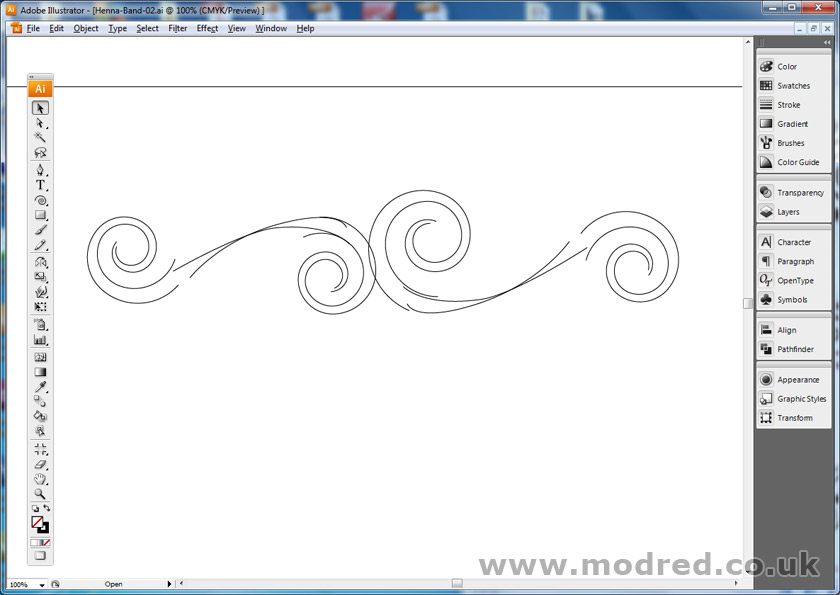
The next stage is to connect all of the separate lines, to create a single shape. This process is started by connecting each swirl using the pen tool. You will see above how I connected each shape.
Using the Pathfinder tool, you can then combine all of the shapes by clicking a button – I used the Merge button. It may be called Weld in Corel Draw.
When all shapes are connected, reverse the colour (make the black outline become a black fill) and you have the start of a simple henna tattoo stencil.
The colour of this design doesn’t matter at all, since it will be used as a glitter tattoo stencil. I just use black because it is the most visible colour (against white obviously).
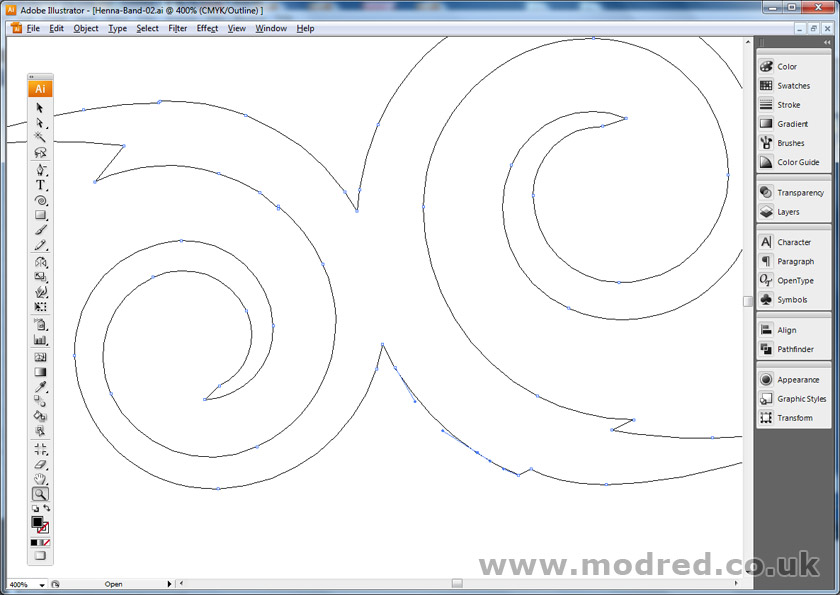
If you then zoom in (I am viewing the design in Artwork / outline mode) you can then start to tidy up all of the jagged corners & bad connections.
You may not need to do this… depending upon the usage of your design. But this design is specifically for use with a vinyl cutting machine, so it is important to remove any sharp corners.
By adding anchor points near to where each shape meets, then removing the anchor point where they definitely meet, Illustrator will kindly produce a natural curve to negate the removed anchor point. As you see above.
This only works with curved lines. If the shape is made using straight lines, you may have to create the curve yourself using the Bezier Curve tool… which looks like a lopsided, upside down V.
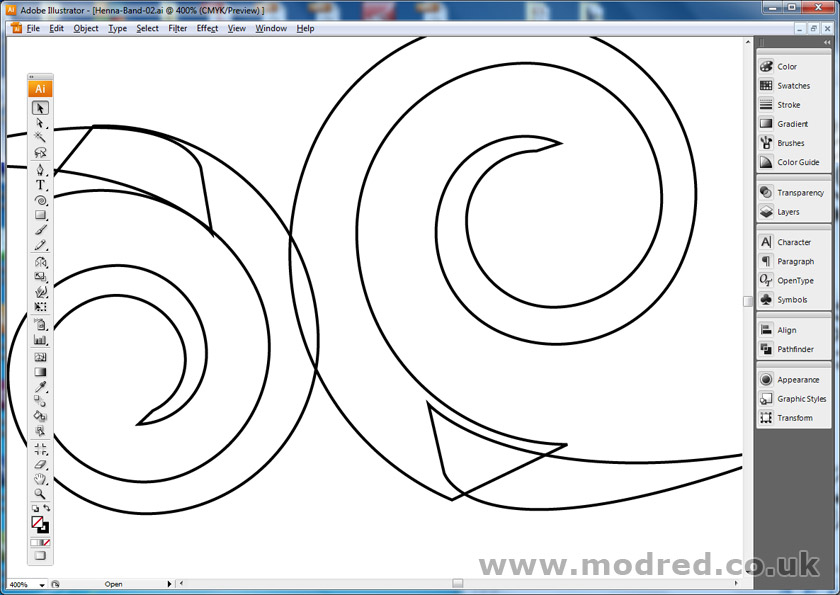
However, if you have used a vinyl cutting machine before, you will know that you should never have overlapping shapes, or crossed lines – like I have above. This is quite easily fixed.

By adding more anchor points (using the pen tool with a plus sign) you can remove the offending crossed lines – making sure you keep a recollection of how the curve should look. After adding a few anchor points either side of the crossed lines, you can then delete the offending lines by selecting them using the white cursor tool – click & drag the cursor over the offending lines – selecting the lines between the anchor points you have created, then press delete. Press delete only once though!
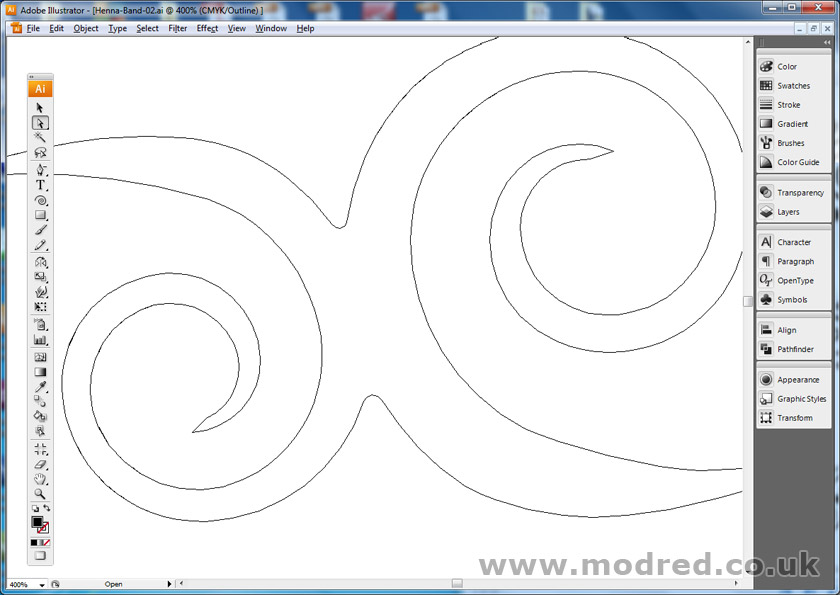
You can then simply re-connect the lines – without the lines crossing, as you see above. Using the pen tool, hovering over the end point of a line, click & hold the mouse down & Illustrator will continue the natural curve… it may take a few tweaks to get it right. You can then click on the intended point to connect the two lines.
Sometimes when you are using multiple shapes or groups, Illustrator doesn’t allow you to connect two lines – if it thinks they are in separate groups for instance. So make sure you Un-Group everything, then use original anchor points to connect two shapes.

After connecting all separate shapes, to create a more Henna look, I have simply added a few circles. Using circles for the innermost parts of each swirl, plus a few circles – decreasing in size – to adorn the outside of my swirls. After placing a number of circles, I merged them all together using the Pathfinder tool.
It is a good idea to copy & paste the whole design at certain occasions. Move one design to outside of the page, so you can easily go back if something goes drastically wrong!
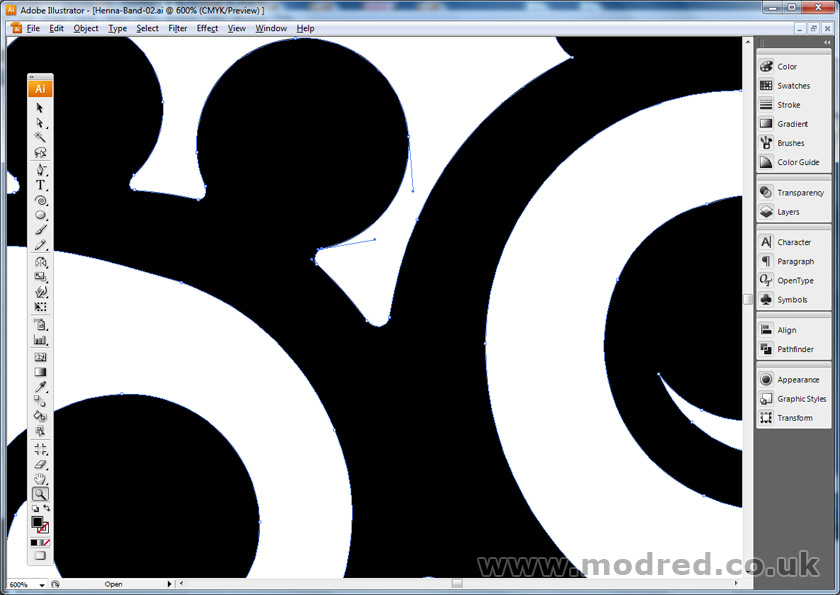
To ensure that my illustration would print / cut easily, I removed any sharp corners. So, wherever a circle meets a curve, I have added two anchor points very close to the join, then removed the point where the shapes meet – producing a nice curve, as seen above. This is important if you are producing vinyl stencils, because the cutting machine is given a smooth line to follow.
To make the design even more Henna Style, I added a few tear-drop shapes to each extremity… using a warped oval, then following the process as detailed before – connecting them to the main shape using Pathfinder, then removing any sharp corners.
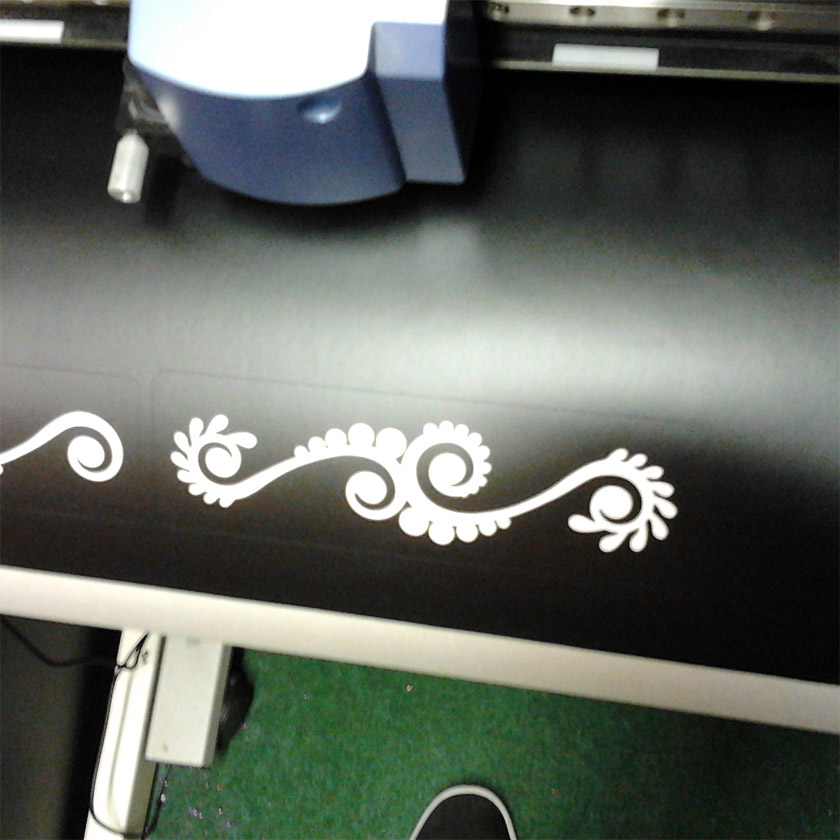
Above you will see the finished design… cut into vinyl material, ready to be a tattoo stencil! You will see that the design is one single shape. This helps the whole production process, because when people are employed to peel away the inside bit, the more separate shapes that are in a design, the longer it takes them. So fewer shapes are better. Although you can’t sacrifice a design sometimes if more shapes are essential.
Recent Design Projects…
3DFLO E-Commerce Web Design

Travel Pack Brochure Design

Tattoo Removal Clinic Web Design
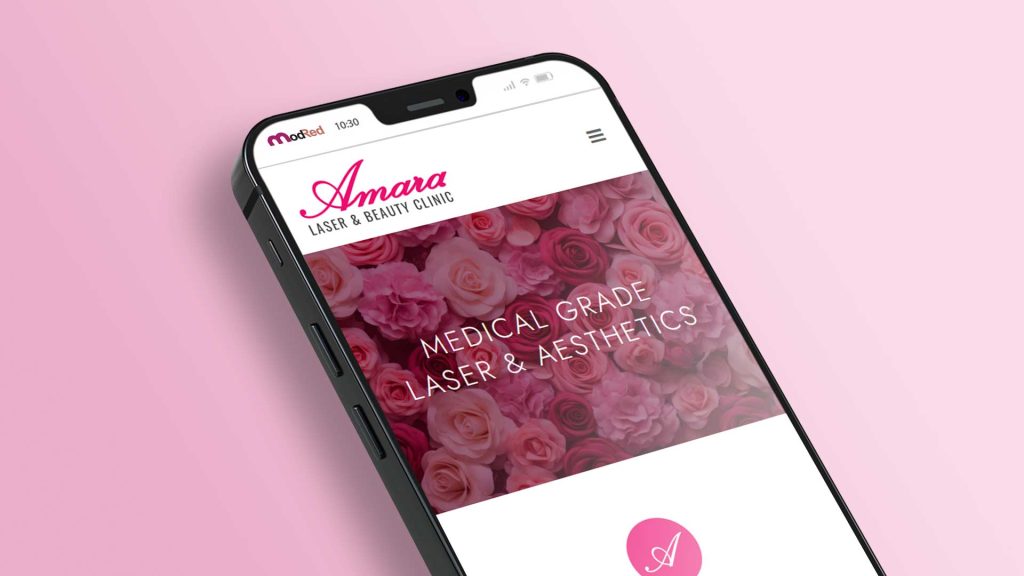
Amara Clinic Logo & Web Design

XL E-Commerce Web Design